Sunday Recipe: French Toast

Here’s an easy one for you :) I have no idea if my style of French Toast has any resembelence to the so-called real thing or not, but this is what I love to make of a Sunday morning.

Straightforward ingredients:

  • Eggs: my rule is 2 eggs for 3 slices of bread
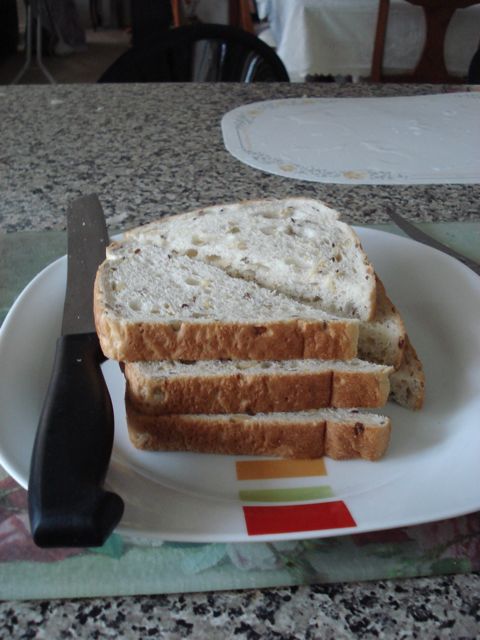
  • Bread: 3 slices is plenty for brunch; 2 slices for breakfast. White bread absorbs the egg best, but some sort of grain bread adds texture.
  • Milk: 1/4 cup
  • Salt
  • Pepper, and other spices to taste: as per Indian tastes, you gotta have spices.

The Method to this Madness:

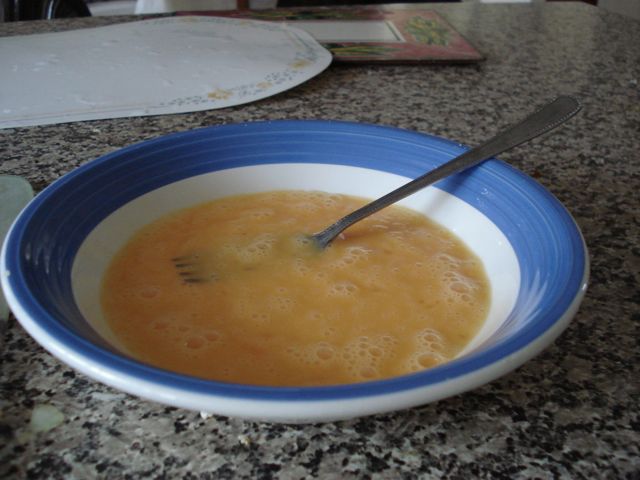
  1. Break yourself some eggs and sprinkle in some salt. No more than a pinch or two should be necessary.
  2. Mix ’em up with whatever whipping mechanism you choose – I prefer a fork, keeping it simple
  3. Add milk to make things a little more creamy & smooth. Also add pepper and spices, and ensure it mixes well.
  4. Cut your bread to make more manageable slices – halves usually works, though you can make quarters if you want to be cute.
  5. Start your non-stick fry pan, but don’t make it too hot – eggs need to cook slowly to maintain smoothness.
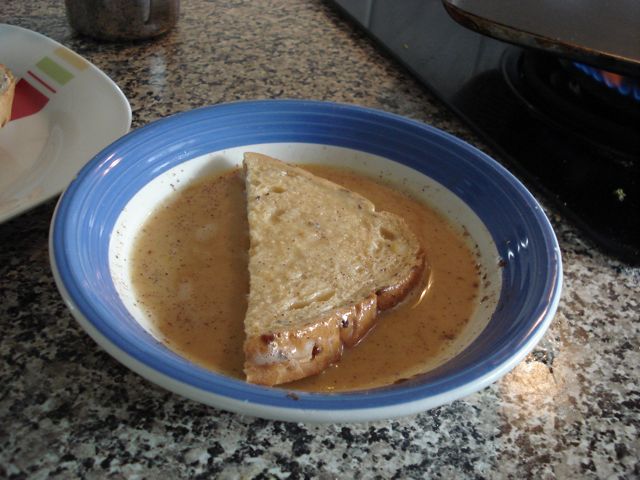
  6. Soak the bread in the egg mix for a few seconds
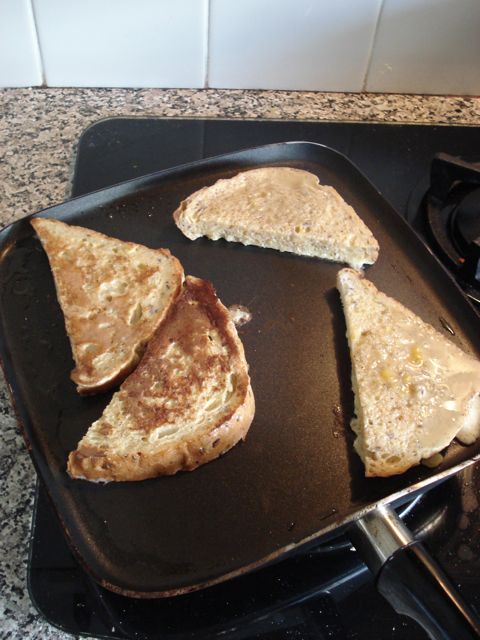
  7. Add oil to the frypan and drop the bread on. Repeat for as many slices as you can manage at once (build yourself up).
  8. Depending on the heat of your pan, flip over in 30 seconds to a minute, as the eggs cook to a deep golden brown. Only flip once.
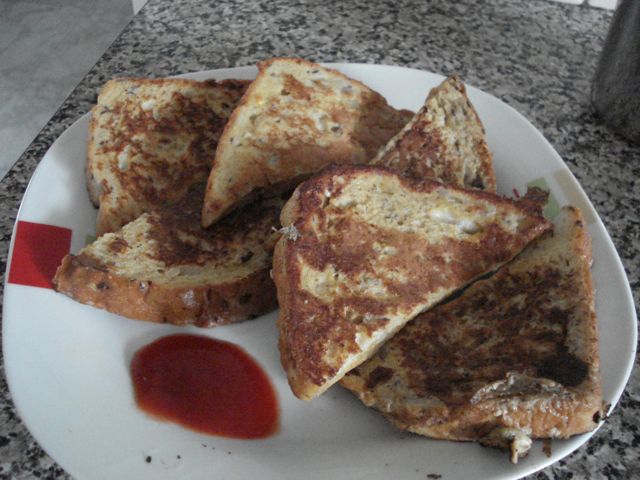
  9. Repeat for all remaining slices, and finish up by putting any excess egg onto the final slice to give it a thick, almost omlette cover.
  10. Serve with your favourite sauce. Garnish if wanting to impress.

Et voila, french toast! (sorry.)

Recipe: Pasta (a la Juneja)

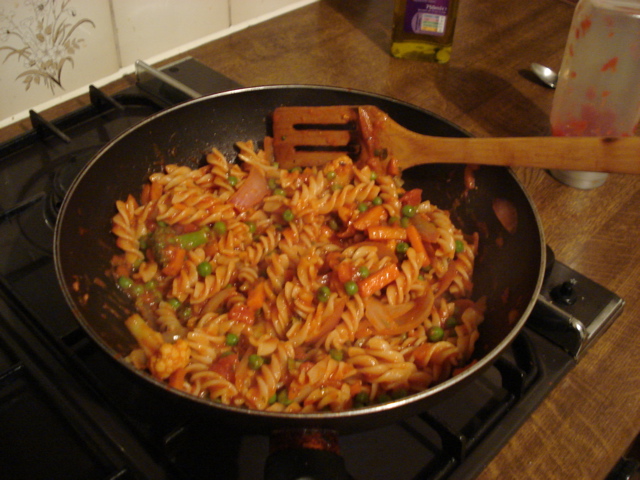
I was just thinking while cooking lunch that I haven’t done one of my Sunday recipes in a while, and I’d promised my sister that I’d post our family pasta recipe so she could whip up one of her own in Adelaide. And at that exact moment, I happened to be in the process of cooking… Pasta a la Juneja.

What’s so special about our pasta recipe? Not much, other than it’s got that Indian touch to it =) Yes, we can change even the venerable Italian culinary tradition to suit our tastes. If you are an Italian purist, look away now.

What you’ll need

  • Pasta of some sort. Your base material is important to the extent that it defines the texture of the dish. I just use whatever one is lying around the house, really =) Fusili is my preferred option, however. I get the type that you have to boil (I know not the technical term), but whatever works really. Portion size of the boil-type is about 75g to 100g, so adjust as necessary for the number of people you’ve got.
  • Pasta sauce of some (tomato-based) sort. Again, the type is entirely up to you, but I tend to buy something from the Dolmio range – if you’re feeling adventurous you could make it yourself! For 3 – 4 serving size, half a bottle works, but may be adjusted as necessary. Real chefs use rules of thumb.
  • Vegetables of a variety. I know, I know, I’m being really generic here, but this recipe is adaptable. Get at least 3 – 4 different types, or alternatively, just buy the frozen mixed vegetables from your local supermarket. Ensure there are at least carrots, because otherwise it’s not my recipe.
  • Red/Spanish Onion: half to one is all that is necessary.
  • Optionally – Meat: once more, I leave it up to your preferences. I’ve only done this once with chicken, but it worked out alright.
  • Cheese! Grated Mozzarella works for me =)
  • Salt, pepper, ginger and spices: The ingredients for any good Indian dish. Spices to taste – a little masala should give it enough of an Indian touch.
  • Oil: Extra Virgin Olive Oil is the only one I would accept.
  • Water with which to boil the pasta.
  • Pot to boil pasta in.
  • Strainer to allow pasta to drain.
  • Wok or other similar dish to fry up the veggies in.
  • Optionally – Tobasco sauce. For taste.
  • About 30 min to 45 min.

Ingredients

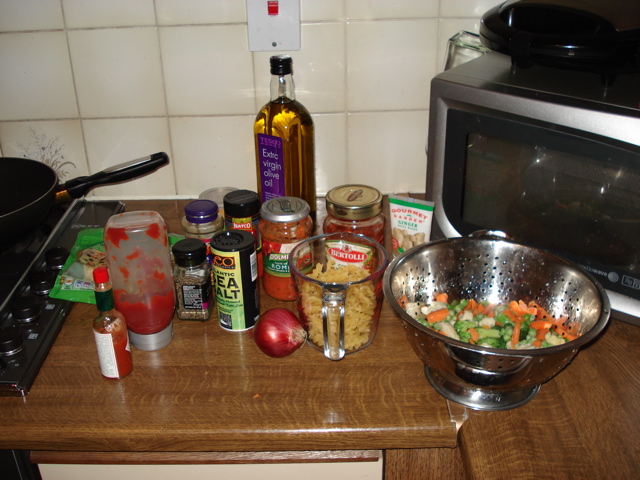
The Line Up

The Method to the Maddness

  1. Boil up or prepare the pasta according to the directions on the pack.
    1. For the boil type, put the water in the pot and add a pinch of salt, and get it close to boiling (when the bubble first start to form) before adding the pasta. If you’re not comfortable with dealing with hot water, add earlier.
    2. Once boiling properly, turn down the heat to just enough to keep the boiling rolling. Let this boil for about 7 minutes (varies according to variety – so see directions!) You want it to be slightly firm (al dente).
    3. Take off the heat and drain the water in the strainer, leaving the pasta to cool a little.

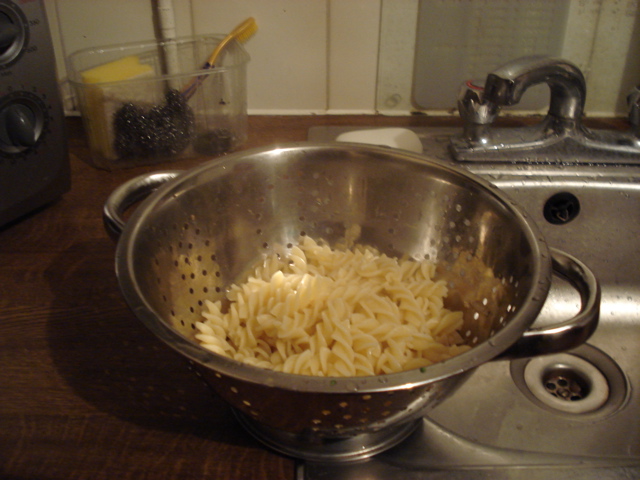
    Strained Pasta
    Al Dente (to the teeth?)

    If you can manage it, do this next bit simultaneously! =)

  2. If you’ve got unchopped veggies, chop them now into bite-size pieces. Otherwise take out the frozen veggies and give them a quick wash to remove the frost. Chop the onion too.
  3. If you’ve got meat, cook this first, to your style & preference. This is primarily a vegetarian recipe however.
  4. Heat about 1 tbsp oil in the wok a little (just give it 30 seconds on a hot wok)
  5. Add some finely chopped ginger and the salt & spices, letting it get a little fried up.
  6. Add the vegetables (and optionally meat) and stir-fry them until they start to soften, especially the onion & carrots. Turn down the heat to 30% or so.

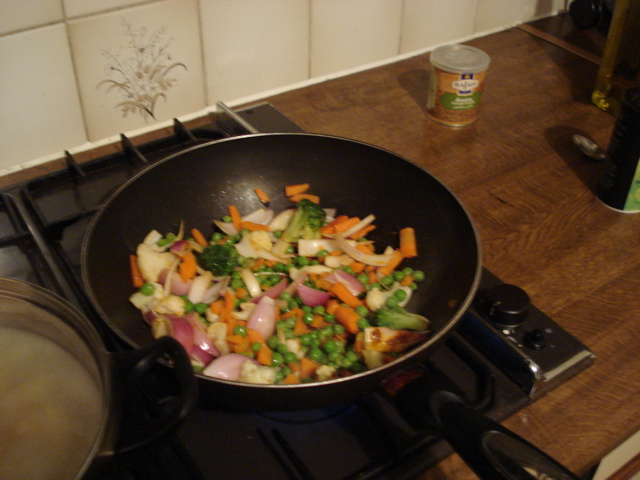
    Veggies a-go-go
    Veggies a-go-go

  7. Add the pasta sauce to the wok, and mix well. There should still be plenty of “loose” sauce left to coat the pasta, however, so if not, add some more!

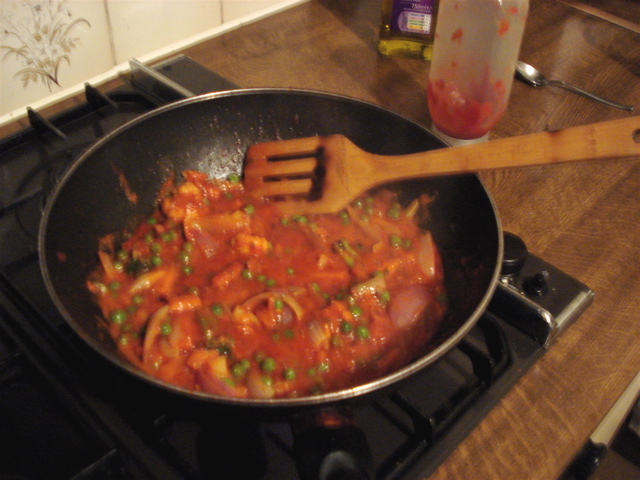
    So Saucy
    So Saucy

  8. Let this fry up a little for 30 seconds – just to get it hot, really.
  9. Add the pasta from step 1 and mix in thoroughly, ensuring plenty of sauce coverage. Turn down the heat even more at this point – should be on minimum, as most of the cooking’s done and we just want a little heat.
  10. At this point, the dish is pretty much ready – if you want to be healthy, take it now!

    The healthy cop-out stage
    The healthy cop-out stage

  11. For everyone else, turn off the heat, and add a splash of Tobasco for that little bit of zing
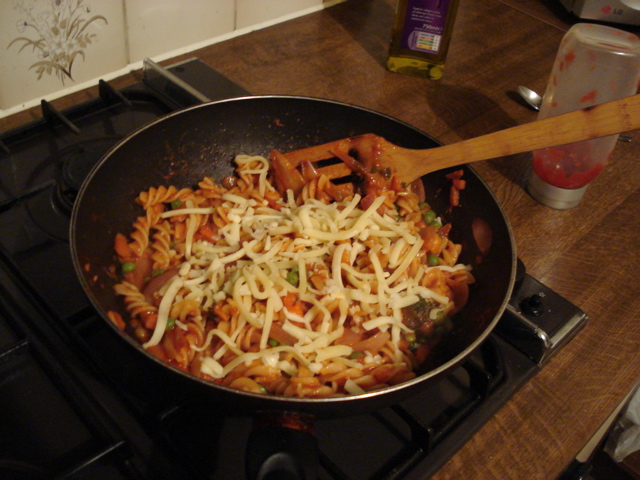
  12. And finally, add a bunch of cheese and “fold” it in, ensuring it is evenly spread and melted (but don’t let it cook!)

    Mmmm, Cheeeeeese
    Mmm, Cheeeeeeese

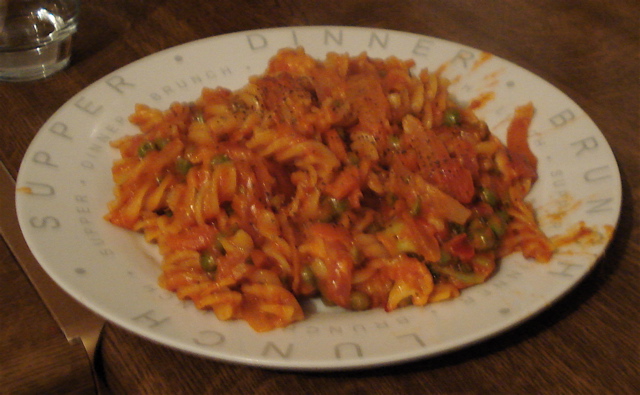
  13. Et voila, Pasta a la Juneja. Top off with a bit of cracked pepper and serve hot.

 Pasta a la Juneja
Pasta, my way (or the highway)

Let me reiterate that I’ve usually had this as a vegetarian dish, and it makes a filling meal at that. It’s infinitely tweakable, though, so I’d say experiment to find your own taste groove. And that’s how you do Pasta, Indian style =)

Recipe: Lobia (Black-Eyed Beans)

Lobia or black-eyed beans follow the classic recipe for lentils, so this is another nice place to start to learn the variety of Indian food. I like to think of most Indian food as falling into two broad categories – “wet” and “dry”.

Last time, I demonstrated dry, so this time it’s the wet, and this can be easily used (with slight tweaks perhaps) for nearly any daal (lentils) like (and I use hindi names here out of ignorance) mung sabut (mung bean lentils?), channa (chickpeas) or channa daal (split chickpeas), and a whole variety I know not the names of. Not to mention my favourite, rajma (red kidney beans), though the preparation for that is a little different.

What you will need is a pressure cooker. They are the key for making “wet” Indian dishes in my house – the pressure cooker is a great way to save time. The other way would be to use a saucepan/pot and boil for a long time, or a slow-cooker which takes almost a whole day. Unfortunately, this is also pretty uncommon, as far as I’m aware, outside of Indian homes…

What you’ll need

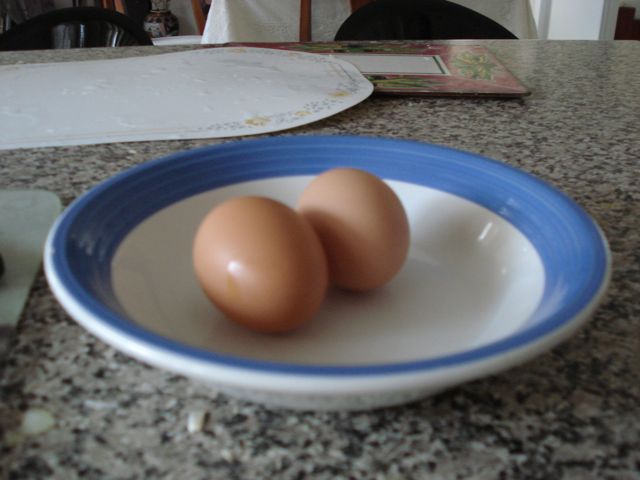
  • Black-eyed beans: one cup by volume (8 fl. oz.). It’s a little approximate, like all Indian cooking (plus I have no weighing machine), but that’s usually enough to serve 2 – 3 as a main, 3 to 4 as a side.
  • 1 large onion: I prefer red onions, but you can use whichever variety is at hand. Use a food processor to chop them finely.
  • Peeled tomatoes: half a tin does the trick (minimum), but if you’d prefer to use fresh tomatoes, one large or two small (e.g. roma) does the trick. Purée them; the result should be basically liquid.
  • Garlic: two cloves, finely chopped, or a teaspoon of pre-processed.
  • Spices – Ginger, salt, garam masala, lal mirch (red chilli powder), coriander powder: all in roughly the same proportions as for the aloo gobi. It’d be fairly easy to prepare a mix of all the powders beforehand, as they’re all going to get mixed in anyway, and could be useful in future.
  • Cooking oil: 1 – 2 tablespoons. Any will do; I favour olive.
  • Water: roughly 4 cups (2 litres) – 4 times as much as the Lobia by volume.
  • Half an hour to 40 min for cooking.

The Method to this Madness

  1. Wash the lobia and allow them to soak in water for about 5 min – this is just to soften them up initially, and if you prefer firmer then don’t leave them to soak.
  2. Heat oil in pressure cooker with lid open, or alternatively use separate saucepan – using the same saves time, effort & mess, though.
  3. Add chopped onions, spices, garlic & ginger. Sauté until onions start to change colour – on high heat this should be fairly quickly. Reduce the heat at this point.
  4. Add puréed tomatoes, and mix in well to ensure a relatively even mix. Allow to simmer until the tomato starts to separate – oil should start becoming visible on top of the mix. Mix this further for a little bit to ensure evenness.
  5. Add black-eyed beans & water, ensuring that the water at least covers all the beans. Mix well.
  6. Increase the heat and close the lid of the pressure cooker.
  7. When you start to see steam emerge from the vent, put on the weight/pressure-inducing device at this point. This is to allow all the extra air to escape.
    1. If you’re doing this for the first time, or are fearful of putting the weight on after the cooking is started, it’s also ok to put the weight on right from the start. The results are a little more variable in my experience, but this is also accepted practice.
  8. At the first whistle/release of pressure, reduce the heat to low, and note the time. You want 15 minutes of cooking at pressure for black-eyed peas.
    1. You’ll want more if you’re cooking something harder, like red kidney beans or chickpeas. If you’re doing basic lentils, you’ll want far less – shelled lentils can be as low as a couple of minutes.
  9. Wait 15 min, and then turn off the heat
  10. Leave for another 10 – 15 min, then open it up, releasing the pressure if necessary
  11. You should have a nice broth, more liquid than solid, with softened black-eyed beans.
  12. If it appears a little thick, add hot water now. If upon tasting the spices are a little low, add spices & boil for a couple of minutes to ensure even mix. If the beans are not soft, boil for another 5 minutes, under pressure, to allow them to soften a bit.
  13. Serve hot with basmati rice

Timings will need tweaking for other types of lentils, but the basic template is the same – quite flexible to your needs. Cooking without a pressure cooker would probably take well over an hour, though as I’ve not done this yet it’s simply a guess. Et voila, a recipe for the “wet” Indian dishes :)
Sunday Recipe: Aloo Gobi (Potatoes & Cauliflower)

Aloo Gobi is a classic Indian recipe, and one of the easiest to pick up for total Indian cooking novices. It’s also where I was first introduced to Indian cooking, so I think it serves as a good starter here, too. I considered starting with the simple stir-fry noodles, but that seems to be aiming a little low. If you can’t do noodles, stir-fry or otherwise, please find your way around a kitchen before attempting the following.

Pardon the terrible pictures. My phone camera really isn’t up to the task…

Ingredients

Indian cooking tends to be very open to interpretation when it comes to amounts, so I’m going to give some rough estimates here.

  • Cauliflower – Half can typically feed two or three people as a main, or four to five people as a side. I’ll use half, as it’s easily available from the supermarket, wrapped in plastic & ready to last longer.
  • Potatoes – dependent on how large the potatoes are, how many people there are, and how much of a fan of potatoes you are. I’ve used two average sized potatoes, diced. I aim for a roughly even amount in visual terms:
    Roughly this much

    The best potatoes to use for Indian cooking is Desiree – they’re pinkish and dirtless, readily available from your local supermarket.

  • Cooking oil – take your pick. Canola, Sunflower or Olive oil work well. Keep the bottle on hand.
  • Spices –
    • Haldi (Tumeric) – for colour, approx half a tea spoon. We’re going for a nice yellow-brown colour.
    • Salt – about 1 and a 1/2 to 2 tea spoons
    • Garam Masala – a mix of spices, lit. “Hot Spice”, available from all good Indian shops and maybe even your local supermarket – it’s one of the basics of Indian cooking. About 1 tea spoon.
    • Lal Mirch (Red Chilli) – powdered form, about 1/2 to 1 tea spoon, to taste. Not strictly necessary, but it gives it that little bit of zing, I think.
    • Podhina (Coriander) – powdered, about 1/2 to 1 tea spoon, to taste. I’m not sure what it does to the taste in the end, but it’s in there. Similarly available from Indian stores or supermarkets if you look hard enough.

    Again, spices tend to make the cooking, so these items will probably be the hardest for you to find. If stuck at all, let me know and I’ll try to find out what the closest Indian store is to you. I’ve also added some seeds I know not the name of (in either language), but they taste good. You’re going to have to ask my mum for those.

  • Ginger, chopped – can also use frozen & preprocessed one that I do. About 1 tea spoon of the processed stuff, or about 20g of the chopped stuff, though that’s really a guess. If you think I sound vague about this, it’s because I really am – it’s never actually quantified, and the amount you use is entirely to taste.
  • A wok or saucepan with a lid.
  • Half an hour to 45 minutes.

Continue reading “Sunday Recipe: Aloo Gobi (Potatoes & Cauliflower)”